Sunday, March 17, 2013

DIY Front-Facing Bookshelves


So I decided I'm a master carpenter now.

Yeah, I made these.
Ok, maybe not exactly master carpenter (or even anything near carpenter, if I get right down to it) but I did have my first adventure in woodworking (okay, more like “building a very basic something out of wood”) that wasn’t prefabricated by IKEA, or getting plywood cut at Home Depot and stapling batting and fabric over it.


Let me start at the beginning.  Early last fall we learned we were expecting a baby.  We were planning on this and had moved to a new place with a second bedroom for that very purpose.  However, since moving, the second bedroom had been full of stuff we hadn’t figured out where to put yet, but finding out I was pregnant lit the FINISH THAT ROOM fire under us and we got rid of stuff, finished unpacking things that had been sitting in there, got bedding for the bed so it can double as a guest room, and bought a big comfy chair for cuddling with our baby.  A few months into the pregnancy I miscarried and I shut the door to the second bedroom and left it that way for four months.  I thought working on it would be healing or a coping mechanism or something, but it wasn’t.  I couldn’t go in there.  All our dashed hopes and dreams waited in there.  In the last few weeks, though, I’ve been feeling like I needed a project, and even though we’re not expecting yet I knew I had a project in that bedroom.  Maybe I have grieved enough to start healing?  I can go in there again for more than grabbing my guitar, at least.  I figured we could get it set up as a guest room with things that could double for a nursery (hopefully soon).  So we got pillows and blankets, a dresser that was the right height to double as a changing table when we get there, and started hanging things on the walls. It has felt good to work on it, and made me feel more hopeful about trying again.

The room is a bit on the narrow side and knowing that we still need room for a crib, we don’t have a lot of space for a bookshelf.  If you’ve been in our home, you know we have a quatrabagillion books on no fewer than 7 bookshelves located in the living room and our bedroom, plus a giant floating shelf of cookbooks in the dining room.  We have more books than anyone in a 2 bedroom apartment probably should, but we don’t have many children’s books yet, and nowhere to put them when we do get them. We want our children to have books of their own in their rooms.  I always valued reading and literacy and was grateful to my mom for reading to me and my siblings and both parents encouraging us to read, but after teaching in an urban school I am even more thankful for having a literature-rich childhood.  (Thanks Mom and Dad!) Anyway, to sum up, our future kid must have books, and a bookshelf in the second bedroom was needed but space is limited.  I decided front-facing bookshelves would be perfect for a nursery.  It’s like functional wall art! It stores the books, but in more flexible space than a bookcase, and it is way more fun to see the covers than just the spine.  I also decided that hanging them on the wall so they could be near the chair without taking up floor space would be ideal. 

Thus I started my hunt for the perfect shelves.  Buying them was a bust.  There are lots of floating shelves, but I’d have to add a lip to keep the books from sliding off, and way too many that were okay-ish but cost more than I was willing to pay/only available in Australia or just downright ugly. So I turned to making something, and I steered far away from anything involving plain boards from the hardware store because I didn’t feel confident doing anything like that.  I found one using fabric and a double curtain rod, but it wasn’t the clean look I was going for.

I found a super cheap option using rain gutters and seriously considered it, but after going to Lowe’s I realized the rain gutters available there not only were cheap ( :) ), but also looked cheap ( :( ).  And there wasn’t a good way to disguise them, so they’d always just look like cut up rain gutters.  So that idea was tossed away like yesterday’s jam.  It’s always a toss up when you want things that to be cheap but look expensive.

So I was left with no other option:  enroll in a carpentry program.  Not really, I just DIYed some shelves out of some 1x6s and 1x2s.  (That’s totally how you pluralize lumber measurements, by the way.)  I found this website that made it look not as hard as I thought and I gave myself a pep talk about putting lumber together into something functional.  Then I measured exactly how long I wanted the shelves to be and dragged Kelly to Lowes and told him (and myself) this was a good time to bust out the Dremel he bought me for Christmas. 

I can’t believe I am taking this long to write about this.  Sorry people who made it this far.  If you want here’s a final picture so you can stop reading now if you want.

Look, I made some bookshelves for the nursery! Hooray! The End!

Moving on without the non-reading whiners:   I picked out the two least warped or knotted 1x6x6s I could find, and one 1x2x6 and got the Lowes guy to cut them into two foot lengths, so I ended up with six 2-foot lengths of 1x6, and three 2-foot lengths of 1x2.  Then I made Kelly carry them to the car for me.  I mean, I did pay before taking them to the car.  I’m not a kleptomaniac.  Well, technically my parents paid for it because I finally busted out that gift card they gave me for my birthday.   (Thanks parents!)  

At home I sanded all the pieces down with the sanding attachment on my Dremel.  Keep in mind I have never done this before, so don’t judge me too much.  I know I’m a complete amateur here. (And if you make some shelves following what I did and yours don’t turn out fabulous or they drop books on your head or something, you can’t sue me.  This is just a story of something I did, not a step-by-step tutorial by a professional.)  Anyway, so I sanded them and found out I like my Dremel.  It be cool, yo. (Sorry, my Bawmo’ swagga slipped out ya’ll.)  After I wiped them down with a microfiber rag to get off the sawdust, I drilled holes where I wanted the screws to go. Even though I’ve never really done this before, I do know that screwing straight into the wood is more likely to crack it; drilling pilot holes prevented any cracking.  For the first shelf I measured very carefully and made sure all the holes matched up perfectly, and then drove in the screws.  It was very tedious and I hate measuring.  I know it’s probably not the best but I really really hate measuring when things need to match up like that.  It stresses me out or something. The first shelf turned out great, but it took way longer than the other two because I figured out a lazy trick that probably everyone already knew but me, but I still felt smart anyway.  On the next two I figured out how far up I wanted the holes to be on the outside board.  I needed them in the middle of the second board because I was putting the screws through the really narrow side.  So I drew a line across the first board how far in I wanted the screws to be and then marked it crossways using a measuring tape where I wanted my screws to go.  I did 2 inches from the sides and all the screws are 4 inches apart. 

Then I drilled those holes and put the screws in so they barely nicked out of the other side.  


Then I lined the board with screws up where I wanted to put it into the second board, and pushed it down.  When I took it away there was a tiny little divot where the pilot hole needed to be drilled. 
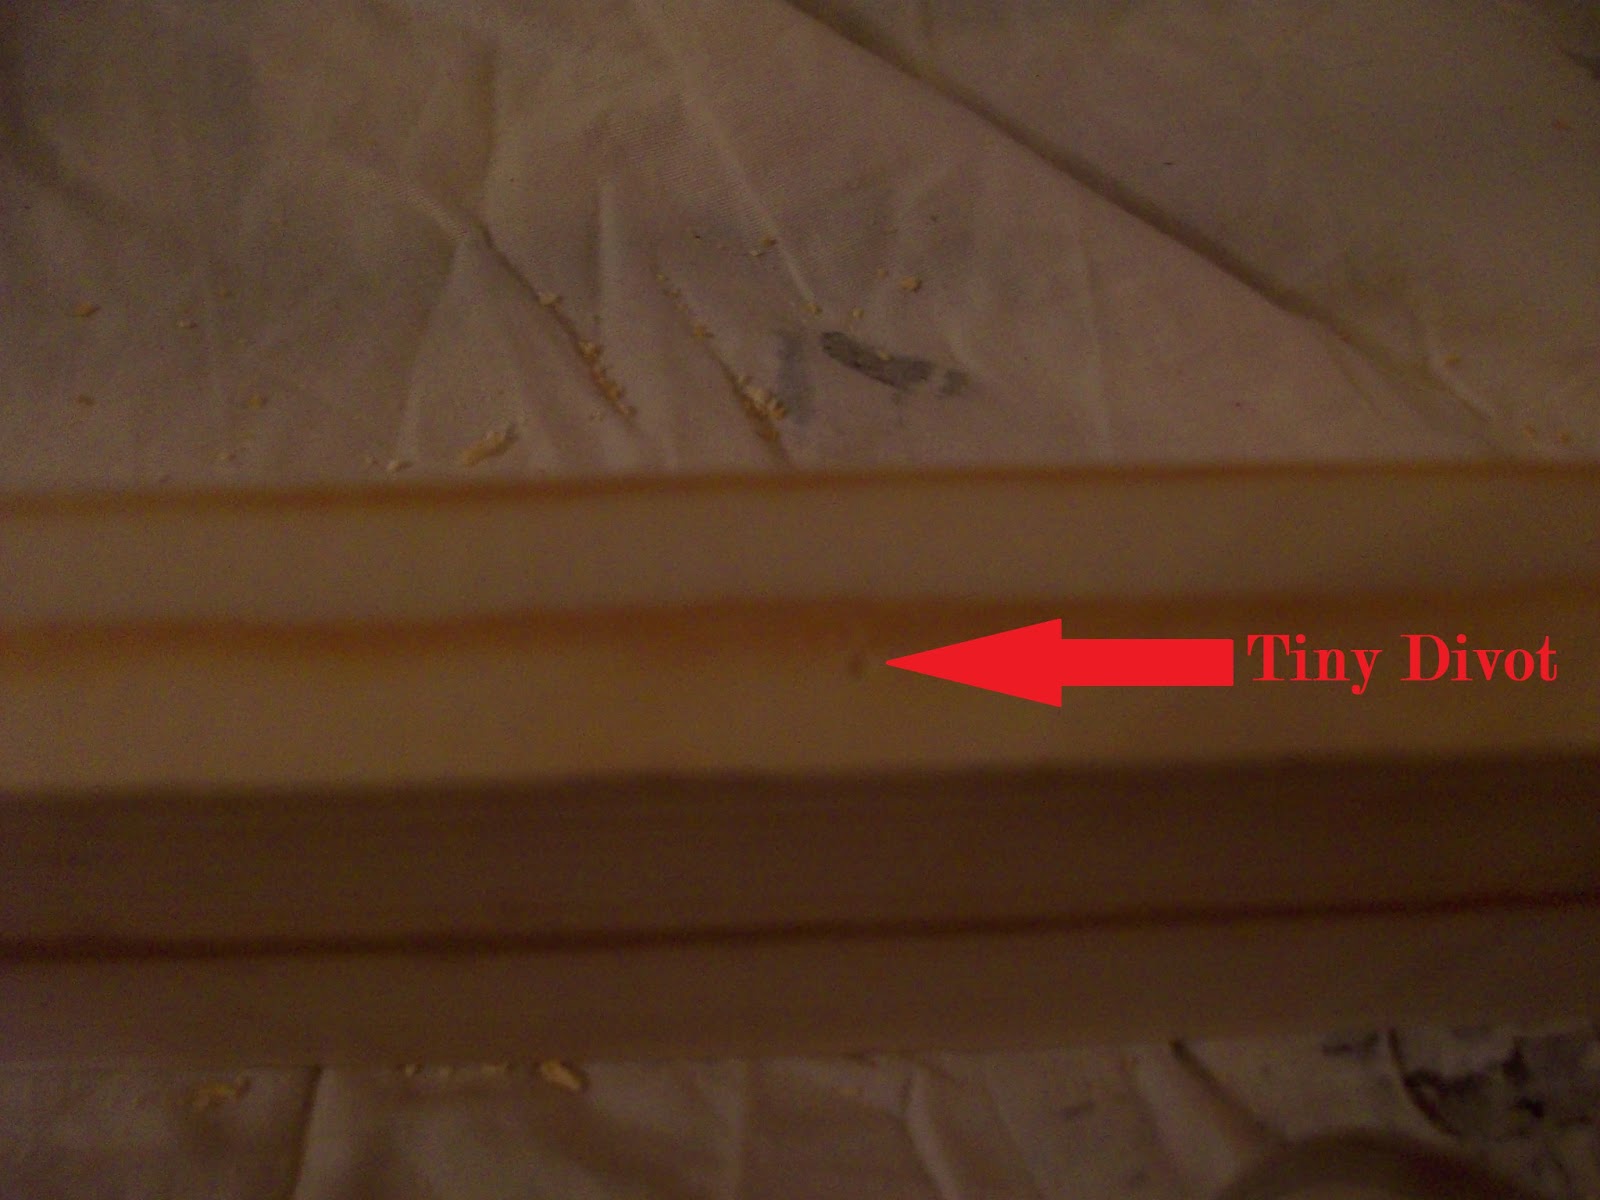

Hooray for half the measuring! And there was no need to be perfectly precise since I’m going to cover up all the screws anyway!  So I made sure the divot was centered so I wasn’t going to accidentally punch a screw through the side.  Fortunately I have a pretty good eye and managed to get the screws in straight freehand.  I’m sure there’s something you can buy to make sure you’re drilling perpendicularly if you’re not as spatially gifted as I am.  The divot was nice, because sometimes when I’m trying to place the drill bit on a penciled x I have a hard time getting it right on, but the little divot made the bit stay right where I wanted it before I began drilling. 

So after I got the pilot holes drilled in the second board I just put them together and finished driving the screws all the way in.  I also made sure I sunk the heads a little so I could fill them and paint over it smoothly.   So now I have three two-foot shelves! 


Since that was enough work for one weekend, I spend the next week gazing lovingly at my beautiful shelves.  On Saturday I drilled three holes in the back where they would fasten to the wall.  This works great since they will be hidden by the books anyway.

Then I filled all the holes and dings and the sides where it was still roughed up from being cut.  I was going to get wood filler, but I already had some spackle and read recently on Young House Love that they used plain drywall spackle to fill in the nail holes on their board and batten and it worked great, so I decided to go for it to save me and my giftcard some dough.  The spackle worked great.  I always do a few applications just to make sure every single thing is filled in.  After it dried I used my dremmel to sand them and round off the corners and edges (it's for a baby's room after all! Kids run into stuff all the time.  Especially any child of mine and Kelly's.)

Dremmeling like a champ! (Okay, actually it wasn't on in this picture.  This is like one of those Unsolved Mysteries reenactments since I had to use the camera with my other hand. Imaginary dremmeling like a champ!)
After I wiped everything down I was lazy and busy with other stuff so it took forever to paint them, but over the course of the next two weeks I got the three coats of white paint on them and let them cure for a week, partly out of that's-what-you're-supposed-to-do and partly because I got the flu. 

Finally, I hung them on the wall using 2-inch screws, making sure at least one screw on each was through a stud, and I put in heavy duty anchors in the other ones.   

And I've gotta say, using a level to hang shelves is awesome, because the level just sits on the shelf while you line it up.  No balancing act like with picture frames.  And I also made sure they were lined up vertically with the level. 

hol nuva levo
 And now I’ve got bookshelves!   


I put some books that qualify as appropriate for children on them, but knowing us we'll definitely get some more.  And since it's by the chair I left a spot for a glass or mug, and a coaster fits in there perfectly.

DIY Front-facing bookshelves

Someday we'll get a mirror over the dresser and move the map and guitar somewhere else.  I think a round mirror would be cool.
The crib will eventually go here.  The desk will go...not in this room.
It's starting to look somewhat finished.  I want to paint that little bedside table orange and we desperately need some curtains.  I'm thinking white and orange chevrons, but Kelly's anti-chevron. I'll  probably win, though.
There's still a lot to do in the room, but we're getting there and at least the bookshelves are done.  Now we need a baby to read to.

Monday, December 10, 2012

Today I realized I'm a nerd

Because Kelly and I had a serious discussion about the pros and cons of having an ewok as a pet. Then I wondered whether it would be ethical or not since ewoks are kind of intelligent lifeforms.

Also, we would name it Bubba.

Saturday, November 24, 2012

Moving Day...well, days...many of them


I know that I haven't really waited that much longer than usual to post, but at least this time I had some excuses besides pure laziness.  For those of you who haven't heard, Kelly and I were pregnant and I was SO TIRED all the time!  So of course I didn't feel like writing about moving to a new place. Fortunately I was never morning sick, though, so that's good.  Just about when the tiredness finally started to become manageable, I lost the baby.  It has been a really difficult thing for both of us, albeit in different ways.  It has been a heart softening experience.  Most of the four years Kelly and I dated were long distance, and even though we knew we were going to get married we had to wait and be apart.  It wasn't always fun, but it made me appreciate Kelly and our marriage and just being able to be with him so much.  I know when we do have a baby we will appreciate it that much more for having to wait and go through heartache to have it.  Also, thank you to everyone for your kind words, the cards, and flowers.  We felt your love and prayers and love you all.

Well, there's where we've been for the last few months.  I started writing this post about moving at the beginning of August (only slightly delayed, right?)  because we moved at the end of of July, but with taking pictures and uploading them and school starting and being tired or crying all the time I just never finished it.  Anyway, come tour our new apartment!

We are officially more than established in our new apartment by this point.  Of course we still have some work to do, but we've got most things hanging on the walls and our furniture where we want it.  The problem with moving into a bigger place is all the sudden we feel like we need to buy more things.  Fortunately we have a bed and a couch and a table (we hate two of those three, but they're all functional for now), unlike our last move when we loaded up our '98 Ford Escort and drove across the country with ourselves, our car, our clothes, a box of books, and a few wedding presents.  So we're good.  Actually while we were moving we were thinking "How on earth did we get so much stuff!?!?!" Especially considering what we started our marriage with.  So we spent six, yes SIX days moving.  We got the keys to our new apartment on Thursday July 26 and had to be out of our old apartment on the 31st, so while Kelly was at work from 8AM-7PM on Thursday and Friday, I scrubbed everything in our new apartment and made as many trips as I could with stuff I could carry by myself and fit in our car.  On Saturday we rented a U-Haul truck and our friends from church/heroes of the day Ben and Devin came and helped us carry all the the big stuff down three flights of stairs, load it into the truck, drive it to our new place, and then unload and carry it UP three more stories (stairs, of course) to our new place.  Thank goodness we only have a few heavy heavy things (actually the three pieces of furniture mentioned above, the couch, the dining table, and the queen-size mattress.)  The rest were all IKEA bookshelves and chairs and the box spring and stuff like that.  So Saturday was the first night we spent at our new home.  On Sunday Kelly and I made a couple more trips--mostly bringing our FOURTEEN BOXES OF BOOKS!!! (Are we insane!?!) And Monday and Tuesday I cleaned everything in our old apartment and brought the last few things to our new home.  Anyway, I thought I'd share some pictures.  First our old apartment/first home together.  Yes, it was kind of sad moving away from the setting of our first three years of marriage, but by Tuesday we were both really ready to be done moving and basically say "good riddance" to the place with its rocking toilet, drippy faucets, crooked stove, missing tiles, and chipped bathtub.  Okay, pictures:
Why yes those ARE all filled with books!


Empty Living Room and broken blinds that we don't miss

Goodbye tiny bathroom that required us to take turns getting ready

Little kitchen and the drippy faucet that could have institutionalized Kelly had we stayed any longer

Libby is excellent at photobombing.  And she kind of looks like an owl.  Is it just me?
Last picture of us in our first home together.  Yes we were that tired.

Libby made sure we didn't leave her behind

And now our new home, which has a nicer kitchen with more cupboard and counter space, a second bedroom and bathroom, bigger living room, dining room and balcony, and more closet space! Although the faucets work like this:

If you visit us, you have been warned.
But we are loving it here!   Here's a tour of our new home:

Home is where your stuff is...ish

 Welcome to our humble abode.  Here's our makeshift entryway.


 ...and our wall o' books

 ...and our couch, with a random desk behind it.  Eventually we're going to get some chairs and have a reading nook back there.  Don't mind the nerf gun under the couch.  Kelly got it after I miscarried so I wouldn't have to get off the couch to keep Libby from scratching the carpet when she wants attention.  Kelly has also gotten shot with it when I want attention.


Here's the aforementioned random mix of furnishing that will someday be replaced with comfy chairs and a little table.  And behind the curtain is the sliding door that leads to the balcony.

 The console table behind the couch and our tv set up.  Although that has changed a bit since I took this picture.

 Here's the whole front room put together for you.  It still needs some work, but hey, we've only been here a few months.

 Here's the dining room.  It's attached to the living room.  Also, I hate that table. but it was free and it works for now. "Buy a new dining set" is on the agenda.


 This is the view of the kitchen from the dining room

 Much more spacious and so much more storage than our last kitchen.  Although the curtains need to go.

 Here's our open shelving and system to hold all our fancy kitchen stuff.

 Kelly was super excited he could watch TV from the kitchen.  I'm not complaining either.

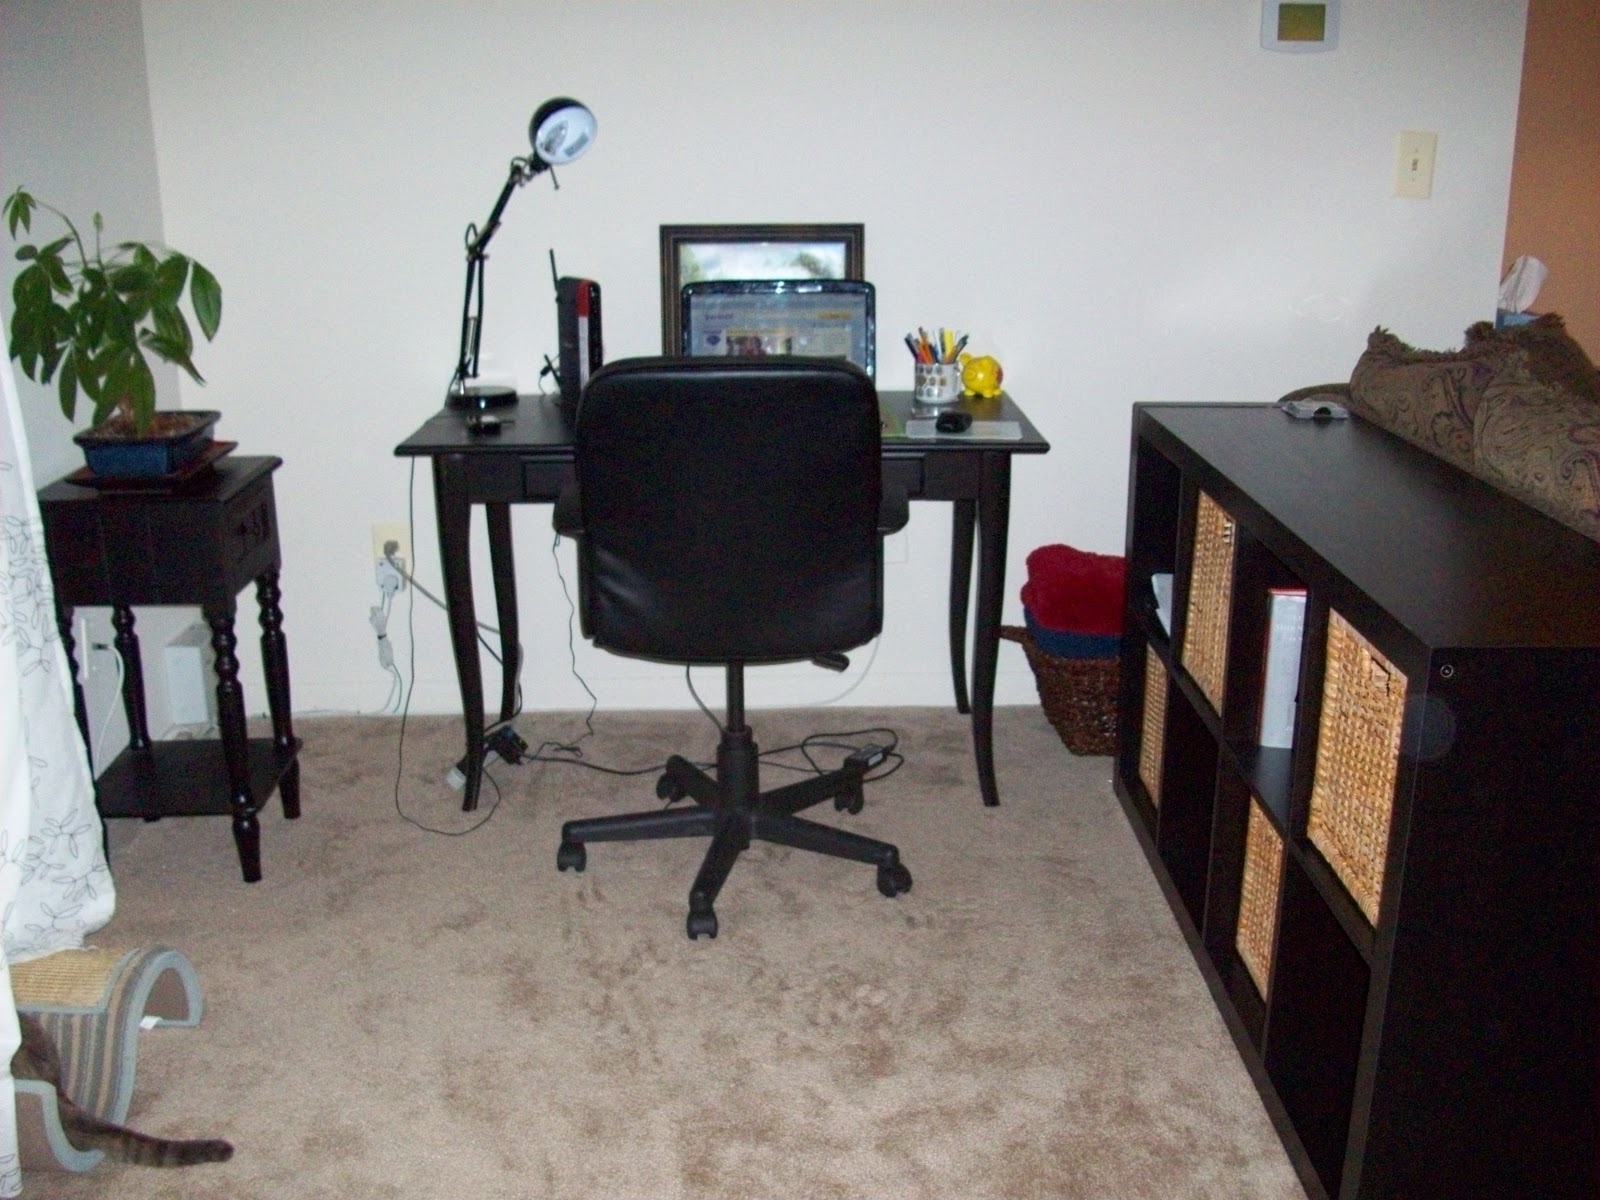
 If you walk through the dining room there's a hallway and the first door off that is a closet, but the next one is the second bedroom.  I was working on it as a nursery, and I think I'm going to paint it and do some stuff to it anyway.  We're planning orange, grey and white. 
 Here's the chair I bought to cuddle with my baby in.  And I will,  just not as soon as I thought.

 Right now we have our old desktop in there, but we're looking to replace it and move it elsewhere.  This is where the crib will be.

 This picture isn't really anything, just the closet in the second bedroom, but while I was walking around the house taking pictures Libby was following me and would wait patiently until I moved to the next room.  I thought it was cute.  She loves me even though I shoot at her with nerf guns.

 Here's the hallway looking straight out from the second bedroom.  Our room is straight ahead, a bathroom and frame wall is on the right, and a pantry and washer and dryer is on the left.

Here's a better look at our frames.  We filled them with random stuff we like that are too nerdy to display where guests would see. Ha ha.  The one with the glare is a Keep Calm and Carry On poster. 


 Our washer and dryer is across from the frame hall.  I can never go back to the laundromat. It would kill my soul.


Our guest bathroom.  It's actually Jack-and-Jill, so the master bath and the guest bath share a shower

 This shower, in fact.


 And our bathroom.  Now that is a mirror and vanity for two looks like.  Hooray!


 And our bedroom.

 I still need to hang something above the bed.

 Our dresser with my green Craigslist mirror that is now black and looks like it was made for our dresser.   The door on the left leads to the bathroom, and the door on the right leads to the hallway.  Those closet doors in the hall is where the washer and dryer are to give you a frame of reference.


Now you've been through our whole apartment! Hooray!  Our cat was really scared at first and was running around while staying as low as possible and hid inside our couch for a few hours.  She's good now.  She's liking all the space and the way bigger balcony.

We have already done a few fun things here.  I had my 25th birthday.  Kelly gave me a saphire necklace.
You can also see my first attempt at a 5 part braid in this photo


 Over Labor Day we watched my TFA buddy's dog Pepper.  He's a yorkiepoo (Yorkie and Poodle mix.  I can never get over how funny that name is hahahahahahaha) and so little and cute.  We had fun, but we're glad we don't have a dog.  We're kind of really really really lazy people, so playing fetch and keeping a dog company so he doesn't cry every single day would not be ideal for us, but we had fun with him for a couple days.


We also had some of Kelly's friends from Michael's over for games and food on a Friday night in September, so we have hosted some people here once so far.  That was pretty fun, even though I didn't know most of them very well.  So we're settling in and it's our home now.  We are still working on the second bedroom even though there isn't a  baby coming to stay in it at the moment.  It is kind of theraputic, actually, and I feel better about painting fumes and that kind of stuff without having to worry about what it could do to the baby.  For the time being it works great as a guest room, so if you know us come visit.  If you don't know us, either make friends with us and build a trusting relationship first, or stay away!

 For Thanksgiving it was just Kelly and me here in Baltimore.  Kelly and I made dinner together (okay, he made most of it.  I helped a little).  We had a rotisserie chicken and parmesan mashed potatoes, stuffing, peas in cream sauce, salad, cranberry sauce, and rolls, with Kelly's creme brulee for dessert.  We mostly just enjoyed having a couple of days off. I gave Kelly his xbox I got him for Christmas early so he could enjoy it on his time off, and I uphostered our shoe bench and a chair.  I'll post pictures of that later.  Meaning probably in March.  Hopefully not.  Anyway, to finish this LONG post up, here are some pictures of our Thanksgiving:

 Kelly cooking Thanksgiving dinner--apparently at the speed of The Flash judging by the blurriness of this picture.

 Our third Thanksgiving together.  And our first at our new apartment.

Kelly made us a feast for two

 Kelly's mom always sends us a little package each holiday.  This year she sent us some Turkey salt and pepper shakers for our table.  I'm sensing a family tradition in the making.

 
For the whole month of November we wrote down things we are thankful for and put them in this jar.  It was a good thing for us to do while grieving.  Even though we have sad and difficult things happen to us, we were able to think of so many things we have been blessed with and are so thankful for.  We read them right after dinner and it was really fun.  I was going to be all fancy when I made this and printed out a template and was going to Xacto knife it out and made a stencil and spray paint the words, but I got my Xacto on a killed it, so I got frustrated and just freehand wrote the words with a sharpy.  Sometimes cutting corners works out. Don't tell my students I said that.


 Kelly playing a game on his early-Christmas-present-xbox.


Now I can't think of a good way to end this.  I always was terrible at writing conclusions to essays.  In fact, in high school on AP tests I would write my whole essay and write a sentence and a half of my conclusion so it would look like I ran out of time so I wouldn't have to write it!  Of course, it only worked on the last essay, so if there were three I still had to write two conclusions, so the reviewers could probably see right through me after reading two weak conclusions and seeing I conveniently didn't have to write the last one.  Anyway, in conclusion, we love our home, come visit if you know us, and s--