
So I decided I'm a master carpenter now.
 |
| Yeah, I made these. |
Let me start at the beginning. Early last fall we learned we were expecting
a baby. We were planning on this and had
moved to a new place with a second bedroom for that very purpose. However, since moving, the second bedroom had
been full of stuff we hadn’t figured out where to put yet, but finding out I
was pregnant lit the FINISH THAT ROOM fire under us and we got rid of stuff,
finished unpacking things that had been sitting in there, got bedding for the
bed so it can double as a guest room, and bought a big comfy chair for cuddling
with our baby. A few months into the
pregnancy I miscarried and I shut the door to the second bedroom and left it
that way for four months. I thought
working on it would be healing or a coping mechanism or something, but it wasn’t. I couldn’t go in there. All our dashed hopes and dreams waited in
there. In the last few weeks, though, I’ve
been feeling like I needed a project, and even though we’re not expecting yet I
knew I had a project in that bedroom. Maybe
I have grieved enough to start healing?
I can go in there again for more than grabbing my guitar, at least. I figured we
could get it set up as a guest room with things that could double for a nursery
(hopefully soon). So we got pillows and
blankets, a dresser that was the right height to double as a changing table when
we get there, and started hanging things on the walls. It has felt good to work
on it, and made me feel more hopeful about trying again.
The room is a bit on the narrow side and knowing that we
still need room for a crib, we don’t have a lot of space for a bookshelf. If you’ve been in our home, you know we have
a quatrabagillion books on no fewer than 7 bookshelves located in the living room
and our bedroom, plus a giant floating shelf of cookbooks in the dining
room. We have more books than anyone in
a 2 bedroom apartment probably should, but we don’t have many children’s books
yet, and nowhere to put them when we do get them. We want our children to have
books of their own in their rooms. I
always valued reading and literacy and was grateful to my mom for reading to me
and my siblings and both parents encouraging us to read, but after teaching in
an urban school I am even more thankful for having a literature-rich
childhood. (Thanks Mom and Dad!) Anyway,
to sum up, our future kid must have books, and a bookshelf in the second
bedroom was needed but space is limited.
I decided front-facing bookshelves would be perfect for a nursery. It’s like functional wall art! It stores the
books, but in more flexible space than a bookcase, and it is way more fun to
see the covers than just the spine. I
also decided that hanging them on the wall so they could be near the chair
without taking up floor space would be ideal.
Thus I started my hunt for the perfect shelves. Buying them was a bust. There are lots of floating shelves, but I’d
have to add a lip to keep the books from sliding off, and way too many that
were okay-ish but cost more than I was willing to pay/only available in Australia or just downright ugly. So I turned to making
something, and I steered far away from anything involving plain boards from the
hardware store because I didn’t feel confident doing anything like that. I found one using fabric and a double curtain rod, but it wasn’t the clean look I was going for.
I found a super cheap option using rain gutters and
seriously considered it, but after going to Lowe’s I realized the rain gutters
available there not only were cheap ( :) ), but also looked cheap ( :( ). And there wasn’t a good way to disguise them,
so they’d always just look like cut up rain gutters. So that idea was tossed away like yesterday’s jam. It’s always a toss up when you want things
that to be cheap but look expensive.
So I was left with no other option: enroll in a carpentry program. Not really, I just DIYed some shelves out of
some 1x6s and 1x2s. (That’s totally how
you pluralize lumber measurements, by the way.)
I found this website that
made it look not as hard as I thought and I gave myself a pep talk about
putting lumber together into something functional. Then I measured exactly how long I wanted the
shelves to be and dragged Kelly to Lowes and told him (and myself) this was a
good time to bust out the Dremel he bought me for Christmas.
I can’t believe I am taking this long to write about
this. Sorry people who made it this
far. If you want here’s a final picture
so you can stop reading now if you want.
 |
| Look, I made some bookshelves for the nursery! Hooray! The End! |
Moving on without the non-reading whiners: I
picked out the two least warped or knotted 1x6x6s I could find, and one 1x2x6
and got the Lowes guy to cut them into two foot lengths, so I ended up with six
2-foot lengths of 1x6, and three 2-foot lengths of 1x2. Then I made Kelly carry them to the car for
me. I mean, I did pay before taking them
to the car. I’m not a kleptomaniac. Well, technically my parents paid for it
because I finally busted out that gift card they gave me for my birthday. (Thanks parents!)
At home I sanded all the pieces down with the sanding
attachment on my Dremel. Keep in mind I
have never done this before, so don’t judge me too much. I know I’m a complete amateur here. (And if
you make some shelves following what I did and yours don’t turn out fabulous or
they drop books on your head or something, you can’t sue me. This is just a story of something I did, not
a step-by-step tutorial by a professional.)
Anyway, so I sanded them and found out I like my Dremel. It be cool, yo. (Sorry, my Bawmo’ swagga
slipped out ya’ll.) After I wiped them
down with a microfiber rag to get off the sawdust, I drilled holes where I
wanted the screws to go. Even though I’ve never really done this before, I do
know that screwing straight into the wood is more likely to crack it; drilling
pilot holes prevented any cracking. For
the first shelf I measured very carefully and made sure all the holes matched
up perfectly, and then drove in the screws.
It was very tedious and I hate measuring. I know it’s probably not the best but I really really hate
measuring when things need to match up like that. It stresses me out or something. The first shelf turned out great, but it took
way longer than the other two because I figured out a lazy trick that probably
everyone already knew but me, but I still felt smart anyway. On the next two I figured out how far up I
wanted the holes to be on the outside board.
I needed them in the middle of the second board because I was putting
the screws through the really narrow side.
So I drew a line across the first board how far in I wanted the screws
to be and then marked it crossways using a measuring tape where I wanted my
screws to go. I did 2 inches from the
sides and all the screws are 4 inches apart.

Then I drilled those holes and put the screws in so they
barely nicked out of the other side.


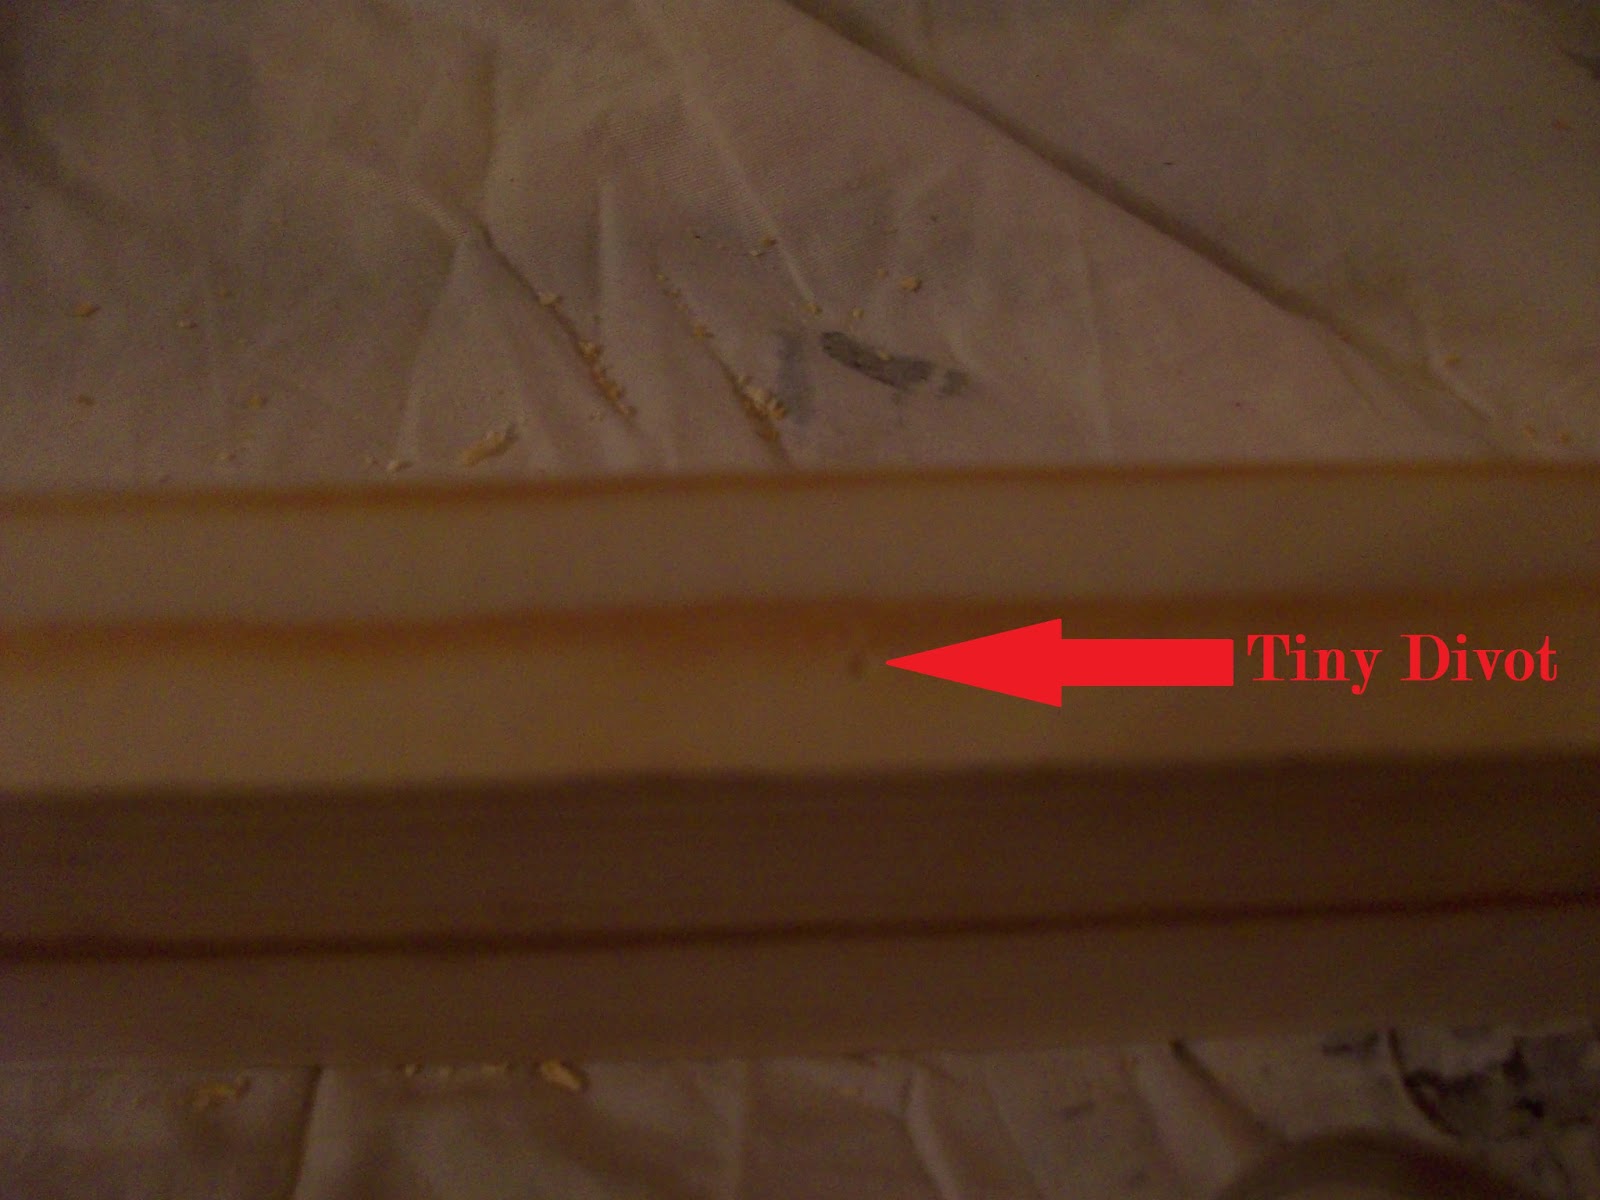
Then I lined the board with screws up where I wanted to put
it into the second board, and pushed it down.
When I took it away there was a tiny little divot where the pilot hole
needed to be drilled.
Hooray for half the measuring! And there was no need to
be perfectly precise since I’m going to cover up all the screws anyway! So I made sure the divot was centered so I
wasn’t going to accidentally punch a screw through the side. Fortunately I have a pretty good eye and
managed to get the screws in straight freehand.
I’m sure there’s something you can buy to make sure you’re drilling
perpendicularly if you’re not as spatially gifted as I am. The divot was nice, because sometimes when
I’m trying to place the drill bit on a penciled x I have a hard time getting it
right on, but the little divot made the bit stay right where I wanted it before
I began drilling.
So after I got the pilot holes drilled in the second board I
just put them together and finished driving the screws all the way in. I also made sure I sunk the heads a little so
I could fill them and paint over it smoothly.
So now I have three two-foot shelves!

Since that was enough work for one weekend, I spend the next
week gazing lovingly at my beautiful shelves.
On Saturday I drilled three holes in the back where they would fasten to
the wall. This works great since they will
be hidden by the books anyway.
Then I filled all the holes and dings and the sides where it was still roughed up from being cut. I was going to get wood filler, but I already had some spackle and read recently on Young House Love that they used plain drywall spackle to fill in the nail holes on their board and batten and it worked great, so I decided to go for it to save me and my giftcard some dough. The spackle worked great. I always do a few applications just to make sure every single thing is filled in. After it dried I used my dremmel to sand them and round off the corners and edges (it's for a baby's room after all! Kids run into stuff all the time. Especially any child of mine and Kelly's.)
 |
| Dremmeling like a champ! (Okay, actually it wasn't on in this picture. This is like one of those Unsolved Mysteries reenactments since I had to use the camera with my other hand. Imaginary dremmeling like a champ!) |
After I wiped everything down I was lazy and busy with other stuff so it took forever to paint them, but over the course of the next two weeks I got the three coats of white paint on them and let them cure for a week, partly out of that's-what-you're-supposed-to-do and partly because I got the flu.
Finally, I hung them on the wall using 2-inch screws, making sure at least one screw on each was
through a stud, and I put in heavy duty anchors in the other ones.
And I've gotta say, using a level to hang shelves is awesome, because the level just sits on the shelf while you line it up. No balancing act like with picture frames. And I also made sure they were lined up vertically with the level.
 |
| hol nuva levo |
And now I’ve got
bookshelves!

I put some books that qualify as appropriate for children on them, but knowing us we'll definitely get some more. And since it's by the chair I left a spot for a glass or mug, and a coaster fits in there perfectly.
|
| DIY Front-facing bookshelves |


 |
| Someday we'll get a mirror over the dresser and move the map and guitar somewhere else. I think a round mirror would be cool. |
 |
| The crib will eventually go here. The desk will go...not in this room. |
 |
| It's starting to look somewhat finished. I want to paint that little bedside table orange and we desperately need some curtains. I'm thinking white and orange chevrons, but Kelly's anti-chevron. I'll probably win, though. |
There's still a lot to do in the room, but we're getting there and at least the bookshelves are done. Now we need a baby to read
to.